Or you can download a pdf copy of the tutorial here.
Paint Shop Pro Trial
Alien Skin Eye Candy
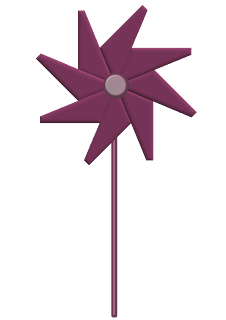
Open a new image 600 x 850 px 300 resolution. Load pinwheel1 selection flood fill with color or patter of your choice.

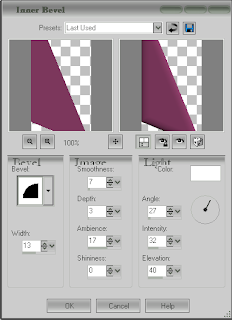
Add new raster layer. Load pinwheel2 selection, flood fill with your choice. Use inner bevel from step one. By now you will notice that my selections are not together. You get to assemble it yourself lol.
Add new raster layer. Load pinwheel3 selection, flood fill with your choice. Use inner bevel from step one.
Add new raster layer. Load pinwheel4 selection, flood fill with your choice. Use inner bevel from step one.
Add new raster layer. Load pinwheel5 selection, flood fill with your choice. Use inner bevel from step one.
Add new raster layer. Load pinwheel6 selection, flood fill with your choice. Use inner bevel from step one.
Add new raster layer. Load pinwheel7 selection, flood fill with your choice. Use inner bevel from step one.
Add new raster layer. Load pinwheel8 selection, flood fill with your choice. Use inner bevel from step one.
Move each piece of the pinwheel until it looks how you want it to look.
Add new raster layer. Load pinwheel9 decorate as you wish, I used Eye Candy impact bevel. And move into the center of your pinwheel top.
Add new raster layer. Load pinwheel10 apply Eye candy impact bevel. You can get the bevel on another blog. Move it into place and merge visable.
TOU
Whatever you make with this tutorial is yours to use in anyway shape or form commercial or otherwise. No link back is required however would be appreciated.


No comments:
Post a Comment