
This tutorial is the creative property of Designs by Katie. Any similarities to another tutorial are purely coincidental.
Materials
Masks
Paint Shop Pro
Tube of choice I am using the beautiful work of Popeye Wong
Scrap kit of choice I am using Chic by Bel Vidotti
Font of choice the font I am using is WaterBrushRob, I didn’t include it because it’s a pay font.
Put the masks into your psp masks folder.
If you are not using the beautiful kit by Bel Vidotti, it is suggested you have a lace up tube and frame open.
One
Open 2 papers of choice, 2 flowers of choice, 2 gems of choice, an accent of choice, tube of choice, and a lace up of choice. Open a new image 600 x 600 px. Maximize one of your papers. Copy and paste into your new image. Layers/load save mask with these settings:
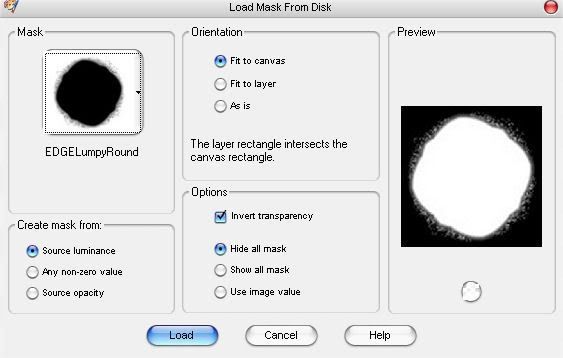
Layers/merge/merge group. Close out of your paper.
Two
Maximize your second paper. Copy and paste into your image. Layers/load save masks with these settings:
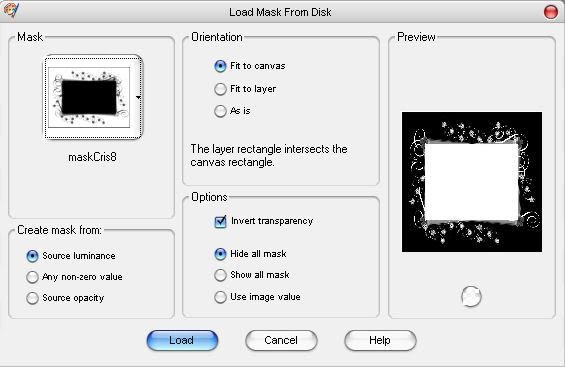
It should now look similar to this:
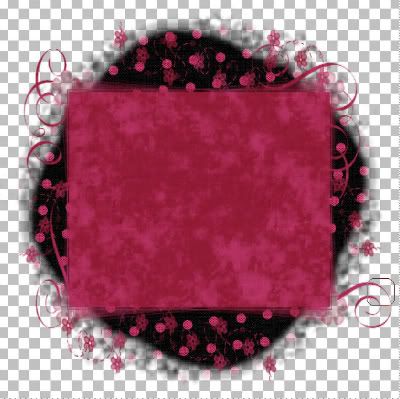
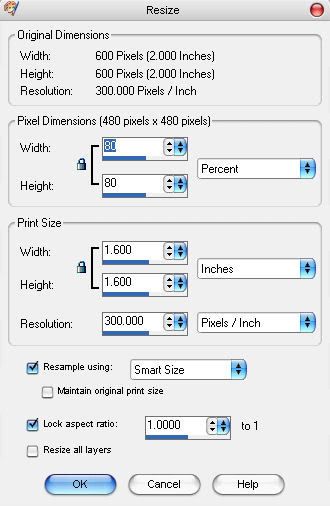
Image/resize with the following settings:
Take the eraser tool and delete the line around the outside edge.
It should now look similar to this:
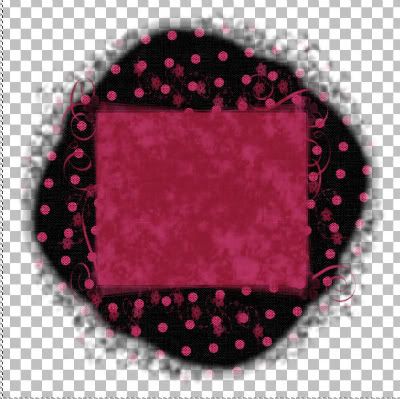
Move into position (check the finished image for positioning). Effects/3d Effects/Drop Shadow with the following settings:
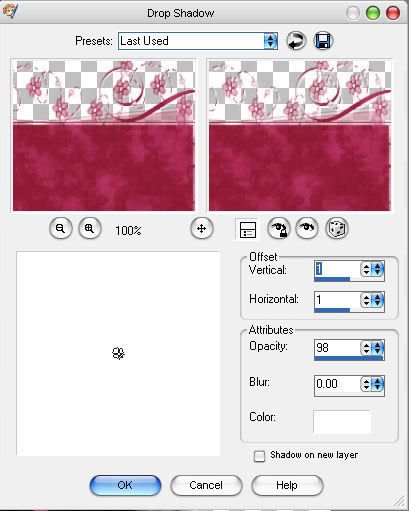
Close out of the paper you used.
Three
Maximize your frame tube. Copy and paste into your image, image/resize 3 times with these settings:
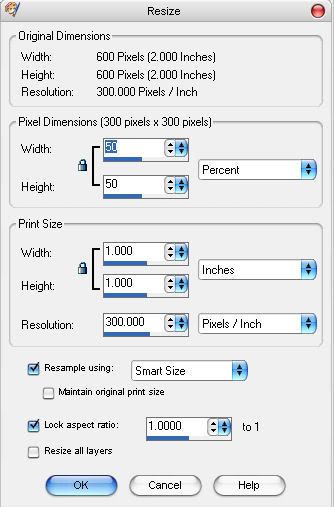
It should now look similar to this:
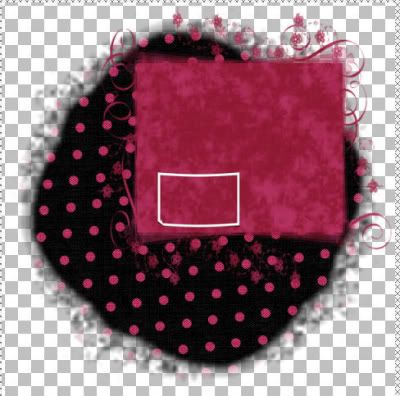
Image/rotate with these settings:
Move into position (check positioning against the finished graphic above.) Close out of your frame tube.
Duplicate the frame layer 2 times.
Move the frames one at a time into position (look at the finished image to get an idea of how to position them.)
Layers/Merge/Merge down. Layers/Merge/Merge down.
Four
Maximize you tube. Copy and paste into your image. Layers/arrange/move down.
Image/resize with these settings:

Duplicate the tube layer 2 times. Minimize your tube for later use.
Move your tube layers into a position that looks good to you.
In your layer palette click on the frame layer. Click the inside of the first frame, selections/modify/expand by 5. Selections/invert
Click the corresponding tube layer in your layers palette. Hit delete once.
In your layer palette click on the frame layer. Click the inside of the Second frame, selections/modify/expand by 5. Selections/invert
Click the corresponding tube layer in your layers palette. Hit delete once.
In your layer palette click on the frame layer. Click the inside of the third frame, selections/modify/expand by 5. Selections/invert
Click the corresponding tube layer in your layers palette. Hit delete once.
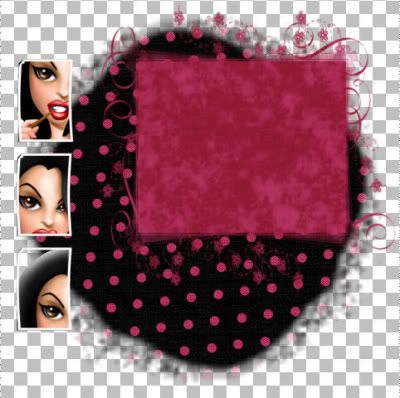
It should look similar to this:
Five
Maximize your lacing tube. Copy and paste into your image. Close out the lacing tube. Image/resize with these settings 2 times:

Then image/resize with these settings one time:

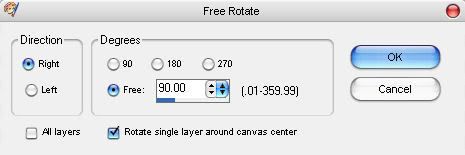
Image/rotate with these settings:
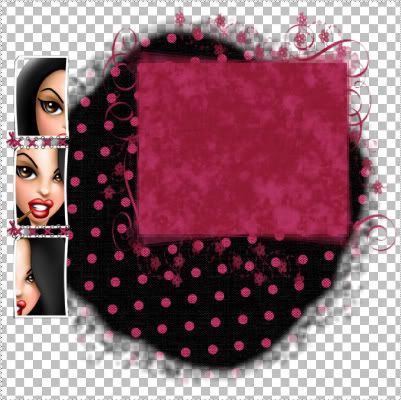
Position over frame layer 1.
Duplicate this lacing layer 1 time and move over the other frame.
(See positioning from finished image.)
It should look similar to this:
Six
Maximize one of your gem tubes, copy and paste into your image. Close the gem tube out
Image/resize with these settings 2 times:

Move into position over lacing and frame.
(See the finished image for positioning.)
Maximize your other gem tube. Copy and paste into your image.
Resize with above settings 2 times.
Move into position over lacing and frame.
(See the finished image for positioning.)
Seven
Maximize your accent tube. Copy and paste into your image. Close out the accent tube.
Image/resize with these settings 2 times:

Move into position. (see finished image for positioning.)
Raster deformation tool, give it a slight slant if you would like.
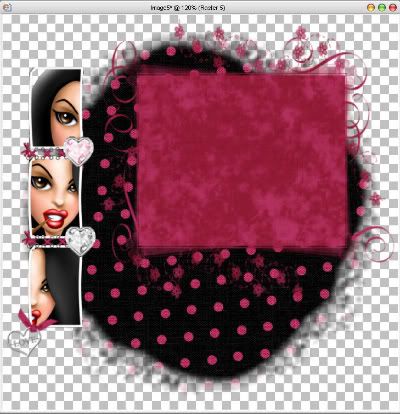
It should look similar to this:
Eight
Maximize your tube, copy and paste into your image.
Resize with the 80 percent settings 2 or 3 times depending on the size of your tube. Position (see the finished image for positioning).
Maximize one of your flower tubes. Copy and paste into your image.
Image/resize with the 50 percent settings 2 times.
Move into position (see the finished image for positioning).
Close out of the flower you used.
Open your other flower tube, copy and paste into your image. Close out of the flower tube you used.
Move into position (see the finished image for positioning).
Nine
Click the text tool pick the font you wish to use. Size 72 or smaller depending on what you wish to type. Type what you wish.
Add a slight angle to the text if you wish.
Effects/3d Effects/Drop Shadow with these settings:
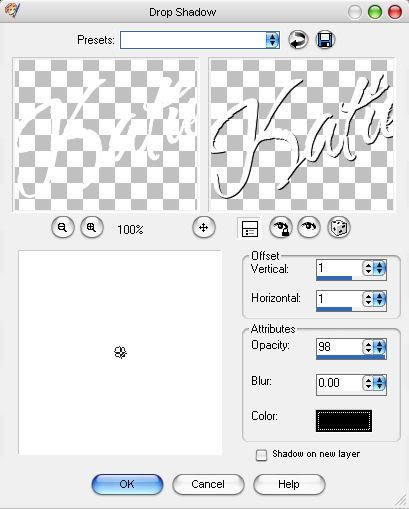
Add your copyright information.
Layers/Merge/Merge All Flatten.
Save as JPG.
Hugs,


2 comments:
Hi Katie, I have tagged you, please check out my blog http://honeymoonarts.blogspot.com/
Hugs
Andrea
hi Katie, i'm yolly from the Philippines and am a beginner with photoshopCS3... i'd love so much to follow on with your tutorials but i get lost.. do you have a tut on PSCS3? THANK YOU SO MUCH!!
Post a Comment