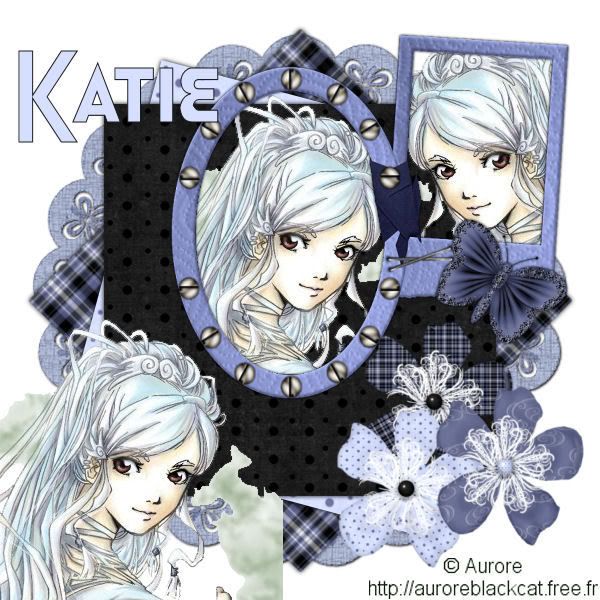
Materials:
Paint Shop Pro
A kit I am using the lovely kit Periwinkle Promises by Eklektik Kolored Dreams it’s a PTU kit
A tube of choice I am using the lovely work of Aurore Black Cat
A font of choice I am using Honest John’s.
Step One
Open your tube, 3 papers, a doily, (if you are using this kit you only need to open one frame.)2 frames if not, and 3 flowers and minimize them all. Open a new image 600x600 px.
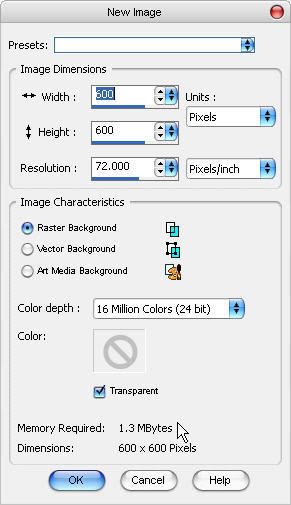
Minimize this image.
Maximize your first paper Edit/Copy and close out of the paper, now go back to your new image Edit/Paste.
Image/resize with these settings:
80 Percent by 80 Percent
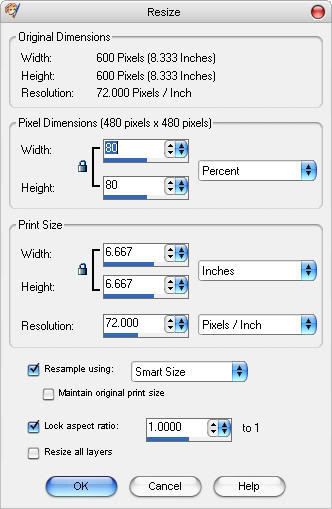
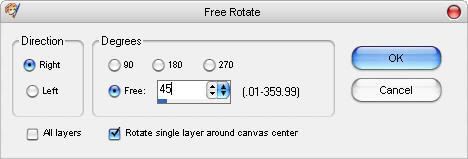
Resize again with the same settings. Image/Rotate/Free Rotate with these settings:
Right, Free 45, Rotate single Layer around canvas center
Effects/3d Effects/Drop Shadow with these settings:
0,0,100,7.00,Black
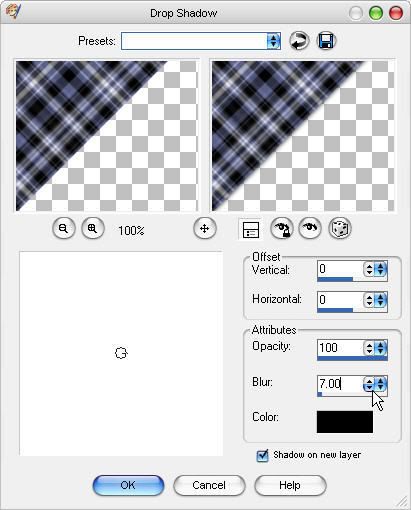
Now we merge the layers, Layers/Merge/Merge Down.
Step Two
Minimize your image and maximize your second paper, Edit/Copy. Close out of this paper. Maximize your image, Edit/Paste/Paste as a new layer. Image/Resize with these settings:
80 Percent by 80 Percent
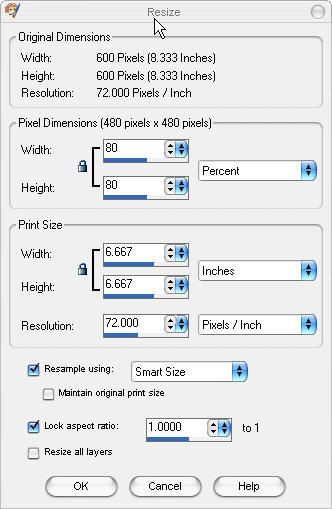
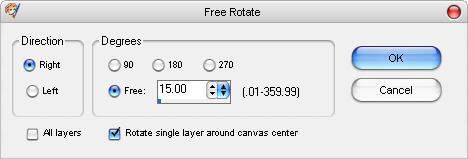
Repeat this one more time with the same settings. Image/rotate/free rotate with the following settings:
Add a drop shadow by going to Effects/3d Effects/Drop Shadow with the following settings:
0,0,100,7.00,Black
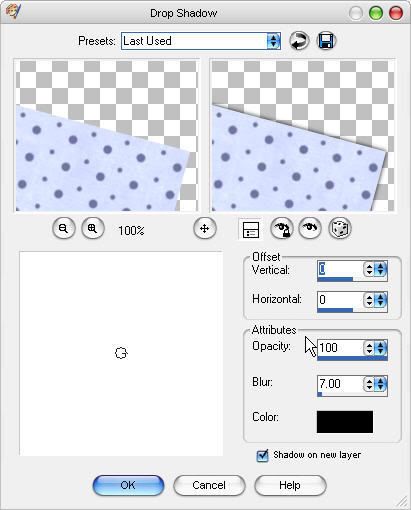
Now we merge the layers, Layers/Merge/Merge Down.
Step Three
Minimize your image go to your last paper, Edit/ Copy. Close out of this paper, go to your image, edit/ paste/paste as a new layer. Image/Resize with these settings:
80 Percent by 80 Percent
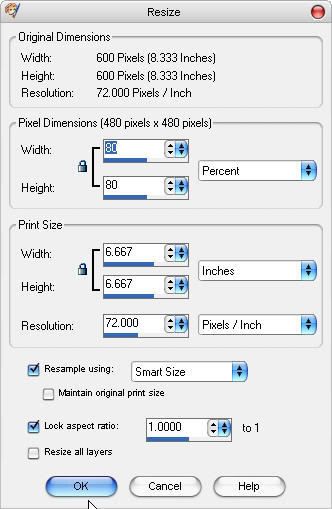
Apply your drop shadow by going to Effects/3d Effects/Drop Shadow with the following settings:
0,0,100,7.00,Black
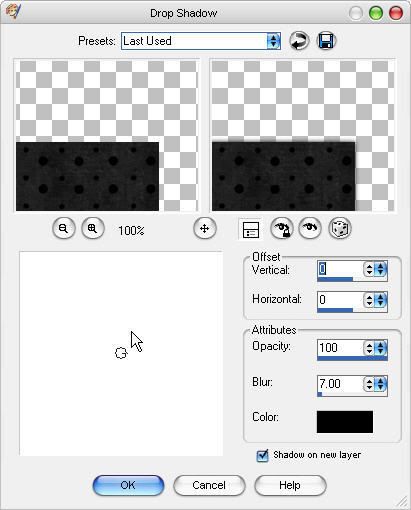
Now we merge the layers, Layers/Merge/Merge Down.
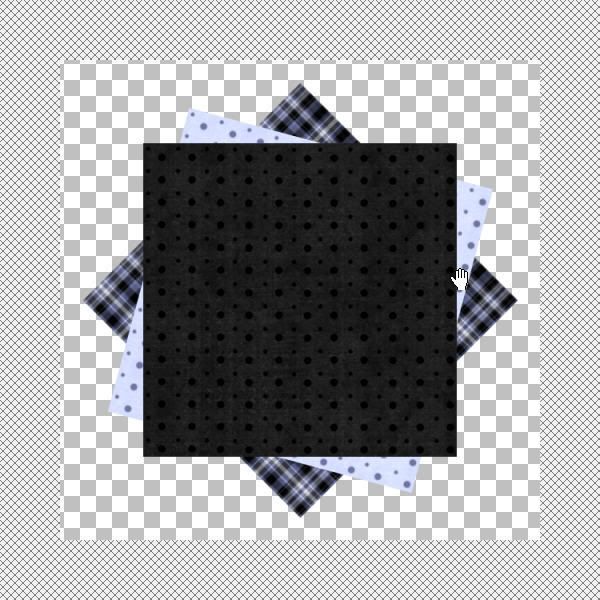
Your image should now look like this:
Step Four
Minimize your image, maximize your doily tube, Edit/Copy. Close out of this tube. Go back to your image Edit/paste/paste as a new layer. Image/Resize with these settings:

Then you need to send the layer to the bottom Layers/Arrange/Send to bottom. Apply your drop shadow by going to Effects/3d Effects/Drop Shadow with the following settings:
1,1,100,3,Black
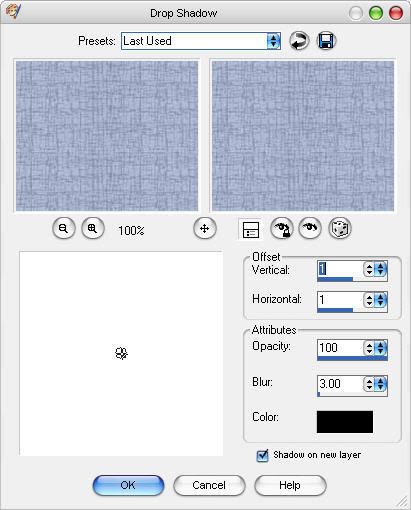
Now we merge the layers, Layers/Merge/Merge Down.
Your image should now look like this:
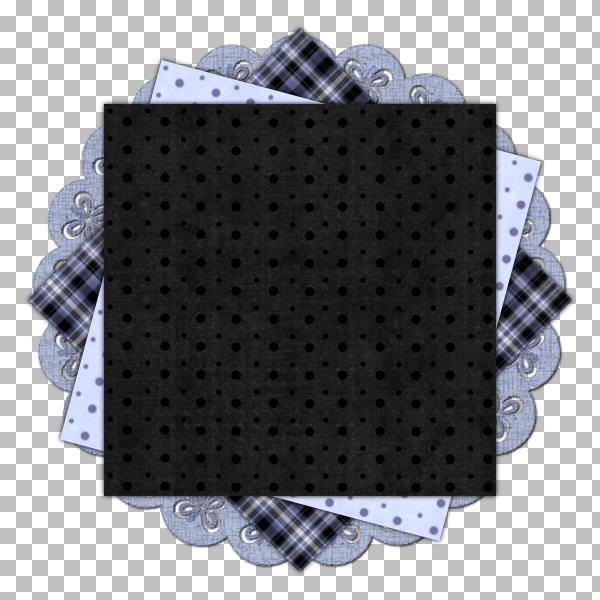
Step Five
Minimize your image, Maximize your frame, Edit/Copy. Close out of your frame. Maximize your image, Edit/Paste/Paste as a new layer. Resize your image by going to Image/Resize with these settings:

Now move this up into your right corner using the mover tool. (If you are using a different kit please copy and paste your other frame, resize with the same settings, and move it right beside the other one If using two frames please Layer/Merge/Merge down.)
Step Six
Minimize your image, maximize your tube, Edit/Copy. Close out of this tube. Maximize your image edit/paste/paste as new layer. Image/Resize with these settings:

Now mirror your tube layer by going to Image/Mirror.
Move your layer down by going to Layers/Arrange/Move Down.
Now move up to your frame layer click the inside of the frame with the magic wand tool just one side of the frame. Now Selections/modify/Expand with these settings:
3 pixels
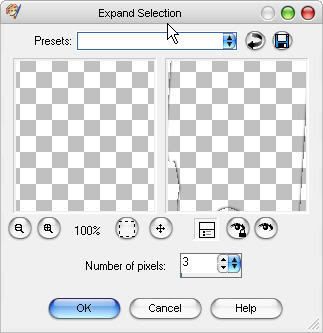
Now go to Selections/Invert.
Now select your tube layer hit the delete key one time on your keyboard. Now go to Selections/Select None.
It should now look like this:
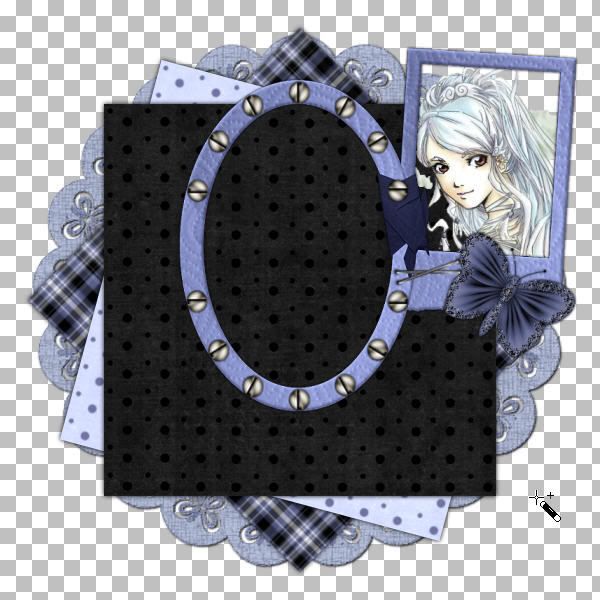
We now select our frame layer.
Now we Edit/Paste/Paste as new layer again.
Now we go to Layers/Arrange/Move down.
Move your tube around underneath the frame with your mover tool, till it looks good to you.
Click your frame layer, with your magic wand select the inside of your frame and Selections/Modify/Expand with the following settings:
3 Pixels

Now we go to Selections/Invert.
Now click your tube layer, hit the delete key on your keyboard one time.
Your image should now look similar to this:
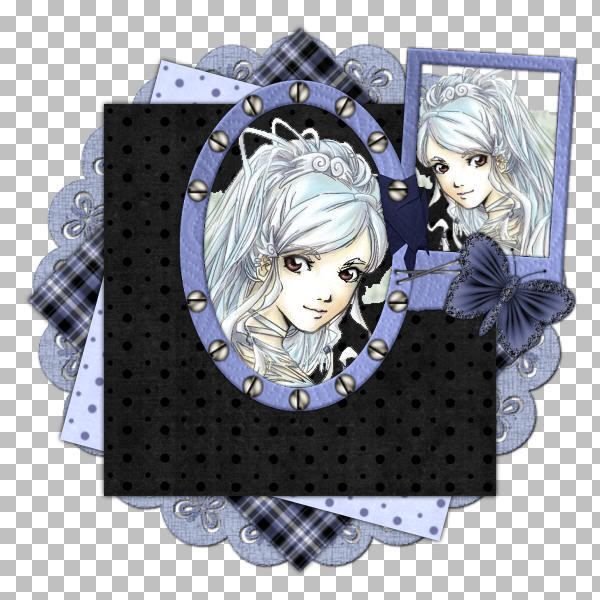
We now select our frame layer.
Now we Edit/Paste/Paste as new layer again.
Now with your mover tool move your last tube layer down into the lower left corner.
Step Seven
Minimize your image that you are working on. Maximize one of your flowers, edit/copy. Close out of the flower you just copied. Maximize your image, Edit/Paste/Paste as a new layer. Image/Resize three times with these settings:

Move it with your mover tool down to the right hand side of your image on top of the last paper you put down. Minimize your image, maximize another flower tube, Edit/copy. Close out of this tube. Maximize your image edit/paste/paste as a new layer. Image/Resize three times with these settings:

With your mover tool move your second flower down into the lower right hand corner above your other flower. Maximize your last flower tube, Edit/copy. Close out of this tube. Maximize your image edit/paste/paste as a new layer. Image/Resize three times with these settings:

With your mover tool move your last flower down into the lower right hand corner above your other flowers.
Step Eight
Click the text tool choose your font and your font size, add what you would like it to say.
Add your watermark or any applicable copyright to the image.
Layers/Merge/Merge All Flatten.
Thanks for taking the time to look at my tutorial.


No comments:
Post a Comment